Tasmota gives ESP devices local control through six interfaces
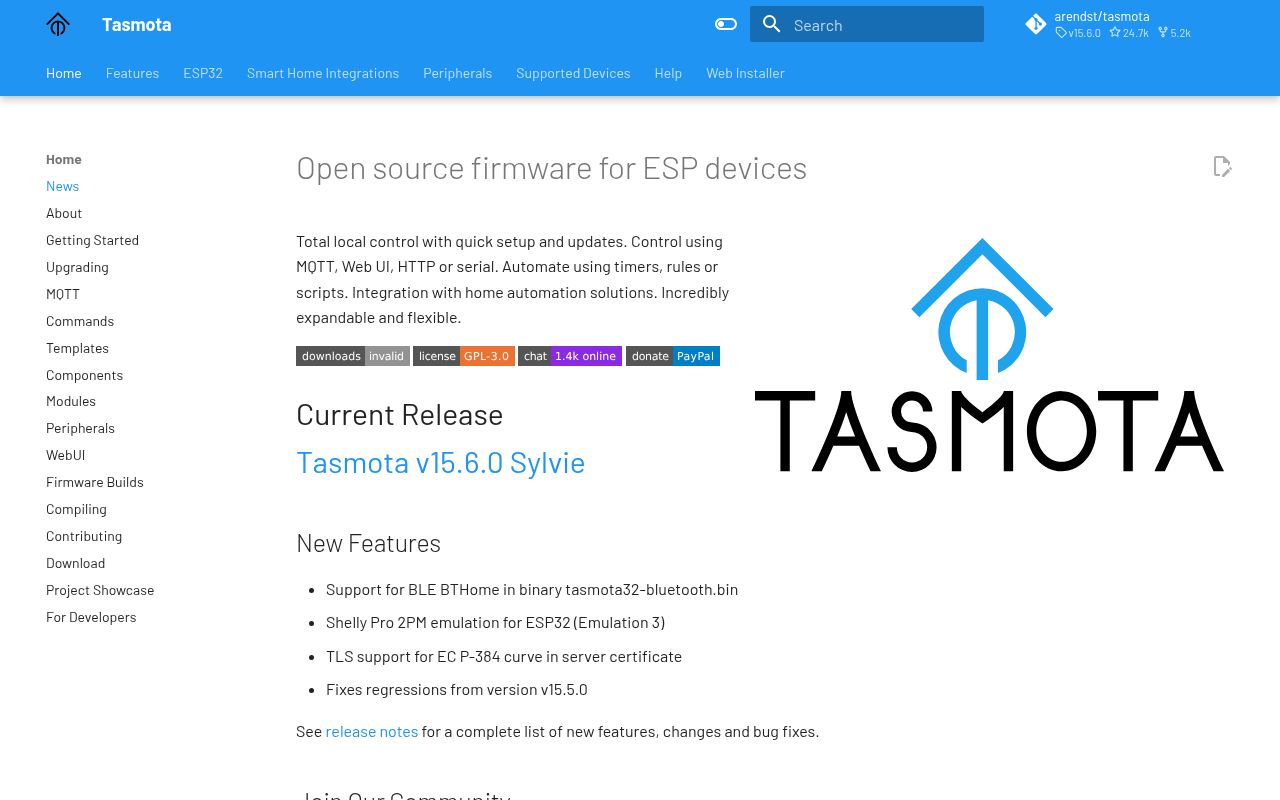
Tasmota replaces factory firmware on ESP8266, ESP8285, and ESP32-family devices. Once flashed and configured, a device can expose a web interface and respond through MQTT, HTTP, serial, KNX, timers, or local rules. That is useful for switches, plugs, lights, sensors, displays, and bridges whose vendor cloud is unwanted. The project also supports over-the-air updates, so serial access is mainly an installation and recovery concern after a stable device is on the network.
The source tree we measured is much larger than the tiny firmware images suggest: 7,544 files, about 2,019,877 lines of source, and 151.6 MB checked out. Tasmota spans many chips, boards, sensors, displays, protocols, and precompiled variants. The repository had 5 CI workflows, with no Dockerfile and no tests directory. Its scale explains why project maintainers say they cannot exercise hundreds of device types with every permitted configuration, even when a development commit compiles.
Released binaries are easier than compiling 2 million lines
Version v15.6.0 supplies separate binaries for ESP8266 and many ESP32 variants, with different feature sets and flash requirements. The WebInstaller is the shortest route for compatible hardware. The getting-started guide also lists browser, desktop, and command-line flashing tools. Pick the image by chip and intended feature set. On ESP32, a factory image is used for initial wired flashing, while the smaller image is intended for later over-the-air updates.
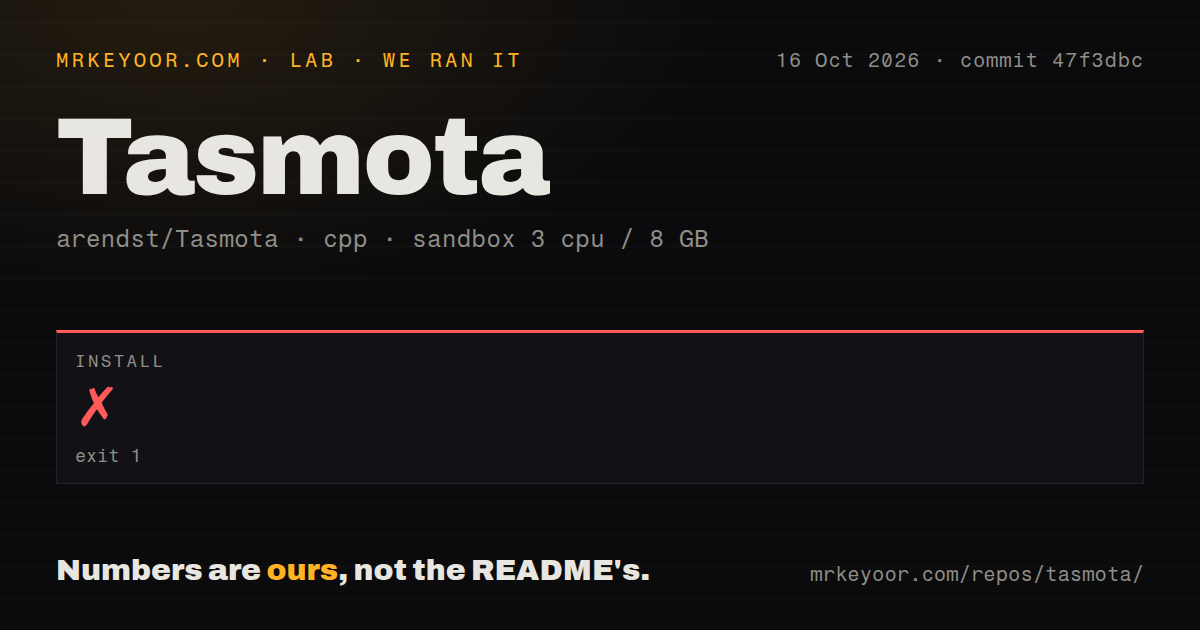
Our clean C++ sandbox did not reach a successful source setup. At commit a3c97ad, the install exited 1 after 10 seconds because CMake could not include /tools/cmake/project.cmake. The log ended with configuration incomplete. Tasmota's README says the project is written for PlatformIO, and its own compile guide offers PlatformIO, PlatformIO Core, Visual Studio Code, or a separate Docker build project. The failure therefore says a generic CMake route was incomplete in our environment; it does not evaluate a released binary.
What happened when we ran it
Our sandbox used the lab-cpp:1 image with 3 CPUs, 8 GB of RAM, no secrets, and no elevated privileges. The 151.6 MB checkout contained 7,544 files and about 2,019,877 source lines. Installation failed after 10 seconds. CMake tried to include /tools/cmake/project.cmake, reported that the file could not be found, and stopped configuring. The repeated final message was Configuring incomplete, errors occurred!, with a pointer to its CMake output log.
The measured block contains no build or test result after that exit 1 failure. Our scan found 5 CI workflow files, no Dockerfile, and no tests directory. None of those facts prove that v15.6.0 binaries fail on devices. They do show that a developer cloning the source into a general C++ environment should expect to supply the project-specific ESP toolchain. For a buying decision, separate firmware installation from source development: the first uses released images, while the second needs PlatformIO or the linked build container.
ESP8266 flash limits force a choice of features
The custom build guide says no ESP82xx binary can contain every feature. Tasmota ships lite, sensors, infrared, display, KNX, Zigbee bridge, and general builds because flash space is limited. Custom features belong in the base tasmota or tasmota32 environment. The maintainers warn that adding features to a tuned variant is likely to fail and is unsupported. Default changes go into user_config_override.h, which survives source updates better than editing the main configuration header.
That advice matters in a repository with about 2,019,877 source lines and 7,544 files. A custom firmware is a small selected product built from a broad hardware codebase. Record the exact commit, PlatformIO environment, board, build flags, and override file. Keep the resulting binary with those inputs. If a device fleet mixes ESP8266 and several ESP32 variants, build and test each class separately rather than treating one successful compilation as coverage for the rest.
Safe flashing needs 3.3 V power and a recovery plan
Tasmota's getting-started guide requires 3.3 V signaling and warns that 5 V on the wrong pin can destroy the chip. Some serial adapters cannot supply enough current for stable Wi-Fi startup. Mains-powered devices add a much more serious risk: the documentation says never flash while exposed hardware is connected to AC power. A browser installer may make firmware selection easy, but it cannot make an opened power device safe.
Our 10-second install failure is minor beside a failed field update that leaves a relay unreachable. Back up the original firmware and Tasmota configuration, keep a suitable serial programmer, and test an upgrade on a spare or accessible device. MQTT adds a broker, credentials, and unique topics; ESP32 builds support encrypted MQTT, while ESP8266 needs a custom TLS build. The project advises leaving working devices alone unless a release fixes a real problem or adds a needed feature.
v15.6.0 is active and old firmware needs staged upgrades
Release v15.6.0 arrived on August 25, 2026, and the repository was pushed on September 2. GitHub showed 24,735 stars and 17 combined issues and pull requests when fetched, with a new Matter report opened on September 3. The release removes direct migration from versions before v8.1.0 and warns against moving from a minimal build straight to another minimal build. It also lists different minimum Arduino core versions for ESP8266 and ESP32, so release notes belong in every upgrade checklist.
Tasmota earns a recommendation through its local interfaces, supplied binaries, current release work, and unusually candid safety documentation. Our source setup still failed in 10 seconds, and the repository supplied no test result for us to fall back on. Use the WebInstaller for a known compatible board, save the configuration, and rehearse serial recovery before updating a hard-to-reach device. Developers making custom images should use PlatformIO and validate the exact 1 MB or 4 MB target they plan to flash.